
One task, from setup to review
This walkthrough uses a simple brief: create a short video in which the camera slowly approaches a perfume bottle on a tabletop. Start from text to explore a new scene, or upload your own product image to establish the opening frame.
The left side of the workspace contains your input and settings. The right side initially shows examples, then displays generation progress and your returned result.
The prompts below demonstrate how to prepare a request. They are not verified prompts for the prerecorded example videos, and no generated outcome is promised.
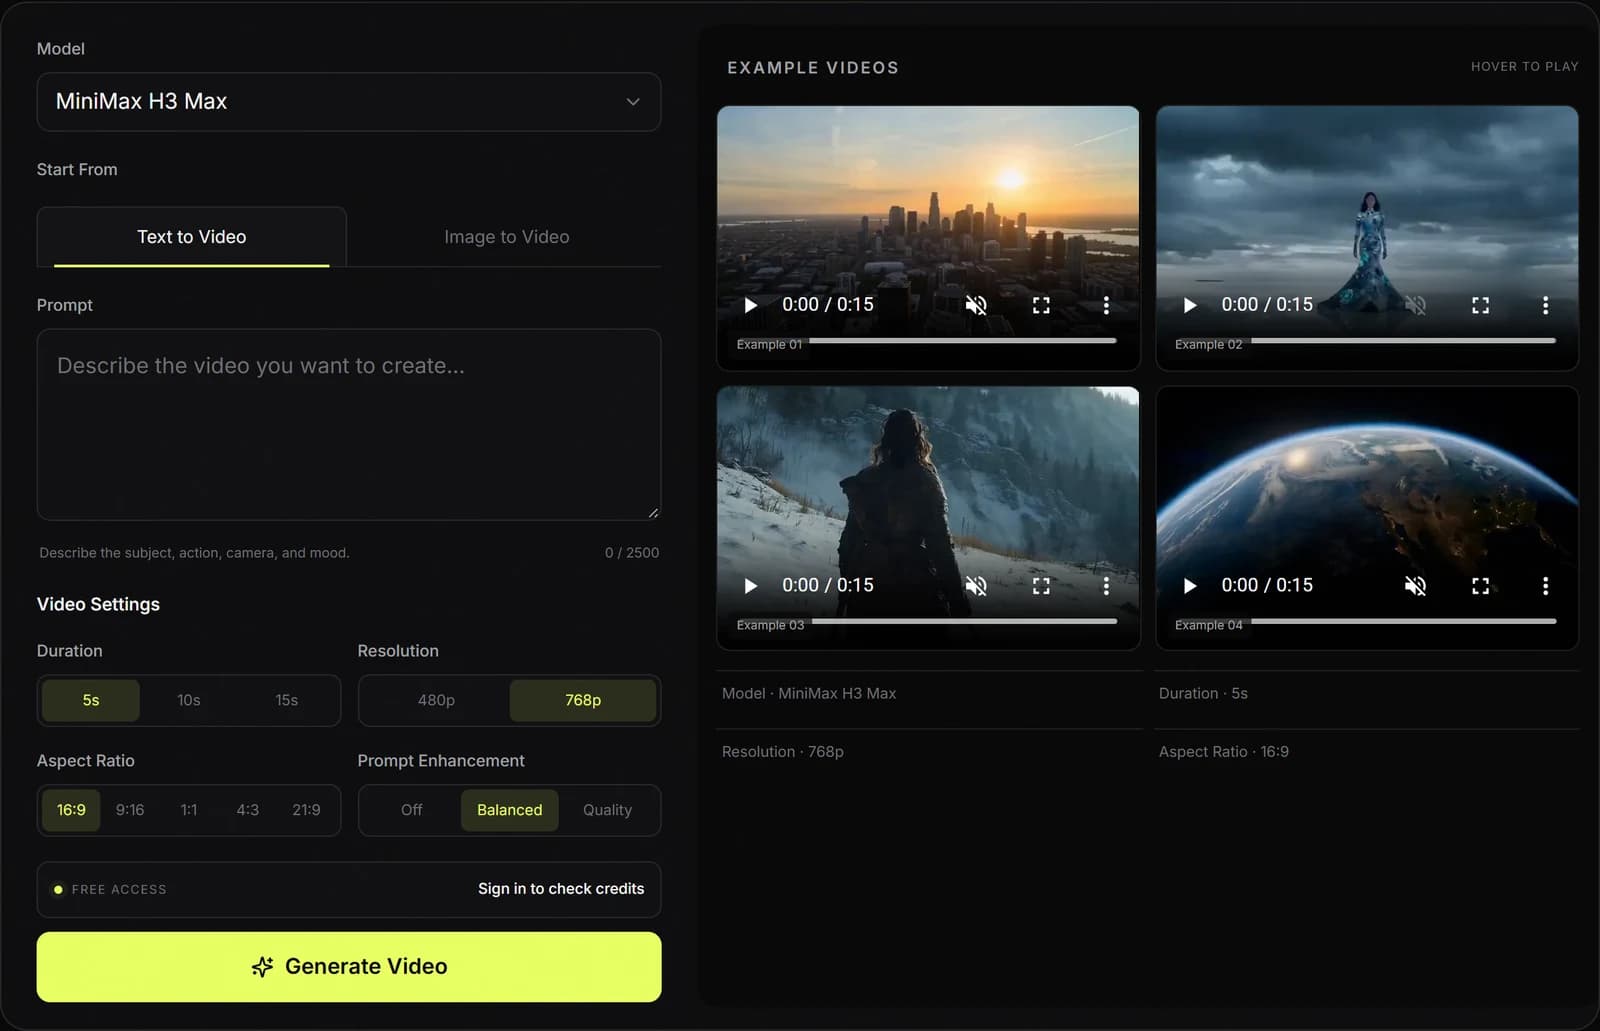
Confirm the model
Click the arrow on the right side of the Model field to open the list. The homepage generator contains these three model options, in this order:
- MiniMax H3 MaxSelected for this walkthrough
- MiniMax H3Another selectable model
- MiniMax H3 Max TurboAnother selectable model
Select MiniMax H3 Max. The menu closes and the selected name appears in the field. The list above exposes all menu entries so you can check the full names, including the Turbo suffix.

The model dropdown and the input tabs are separate controls: choosing a model does not replace choosing Text to Video or Image to Video. Keep the same model when comparing prompt revisions. A model name alone does not establish a guaranteed speed, quality, or credit cost.
Choose text or an existing image
Under Start From, select Text to Video or Image to Video. Both modes need a written prompt. Only Image to Video requires you to upload a starting image.
| What changes | Text to Video | Image to Video |
|---|---|---|
| Required input | A written prompt; no image upload is required. | One starting image plus a written prompt. |
| Interface | The prompt field follows the mode tabs directly. | An image upload area appears between the mode tabs and the prompt. |
| What to describe | The subject, setting, appearance, action, and camera. | What should move or change after the uploaded starting frame. |
| Before generating | Check the prompt and output settings. | Also wait for the image upload to finish successfully. |
| Shared controls | Duration, resolution, aspect ratio, and prompt enhancement. | The same four output controls remain available. |
Text to Video: start without uploading a picture
- Select Text to Video and check its highlighted underline.
- Enter a description in Prompt. There is no image upload field in this mode.
- Set the video options below the prompt, then review the request before generating.
For our perfume bottle example, describe the bottle, tabletop, background, and camera movement because you are not supplying those visual details in an image.
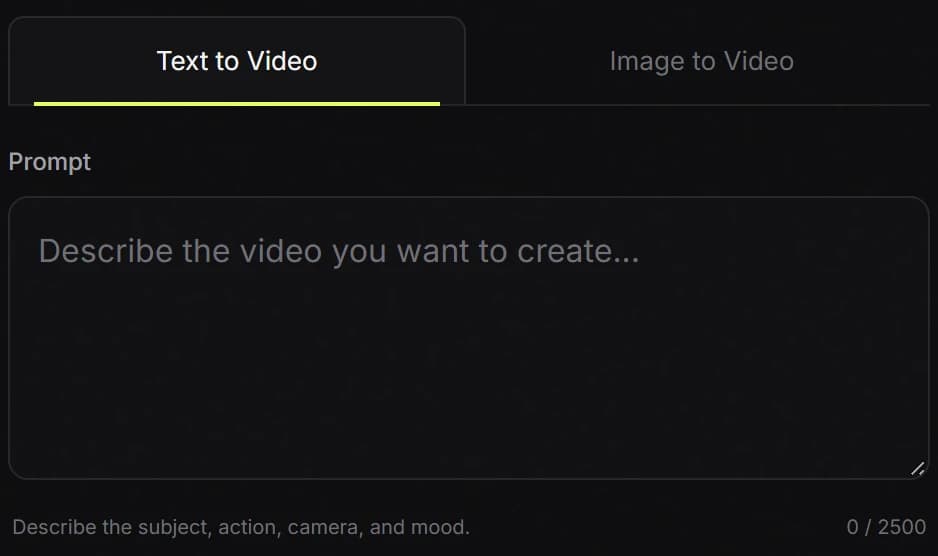
Image to Video: upload the starting frame first
- Select Image to Video. An upload box appears above Prompt.
- Click Upload a starting image and choose a JPG, PNG, or WebP file.
- Wait for the upload to finish. Look for the image thumbnail, Image uploaded label, and confirmation indicator.
- Check the thumbnail and filename. Click the upload area again to replace the image if needed.
- Write a motion prompt, choose the video settings, and review the request.
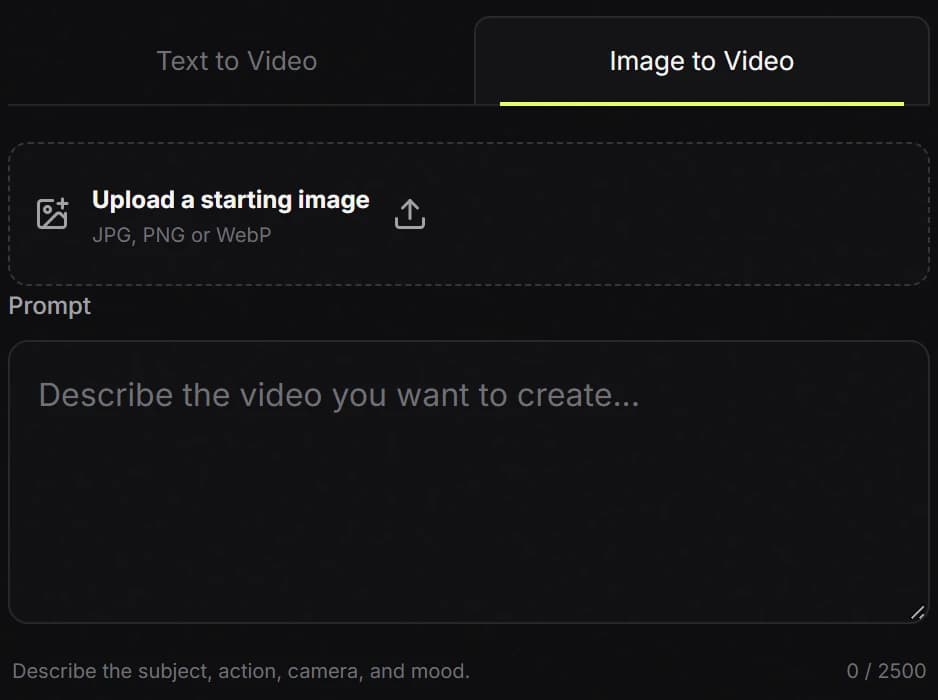
For an existing perfume bottle photograph, describe the camera push-in and lighting change instead of inventing a different bottle. The uploaded image supplies the starting appearance; it does not guarantee that every detail will remain unchanged throughout the video.
Check the upload state before continuing
| What you see | What to do |
|---|---|
| Upload a starting image | Select the source file you want to use. |
| Uploading image… | Wait. The generation button is disabled while the upload runs. |
| Image uploaded and a thumbnail | Check the source, then complete the prompt. |
| An upload error | Read the message and retry the upload. Selecting a filename alone is not a successful upload. |
Switching between the tabs does not automatically rewrite your prompt. Review it after changing modes. A picture selected earlier is not required for a text request; switch back to Image to Video and check the source if you want the picture used.
An empty prompt produces “Please enter a prompt.” In image mode, a missing or unsuccessful upload produces “Please upload an image.” Complete both required inputs before submitting.
Describe one continuous shot
A video prompt needs an event, not just a description of appearance. Begin with four decisions: the subject, the action, the camera movement, and the lighting or mood.
- Subject: what is the main object in the frame?
- Action: what changes during the clip?
- Camera: does it stay still, move closer, move away, or follow something?
- Atmosphere: what lighting and background support the scene?
The input accepts up to 2,500 characters. You do not need to fill it: a clear, consistent request is more useful than competing instructions.
A text-to-video starting prompt
A clear glass perfume bottle stands in the center of a dark gray stone tabletop against a clean background. The camera slowly pushes in from a front medium shot while the bottle stays still and fully visible. Soft side lighting outlines the glass, with a natural reflection on the table. Keep one continuous shot without changing scenes.
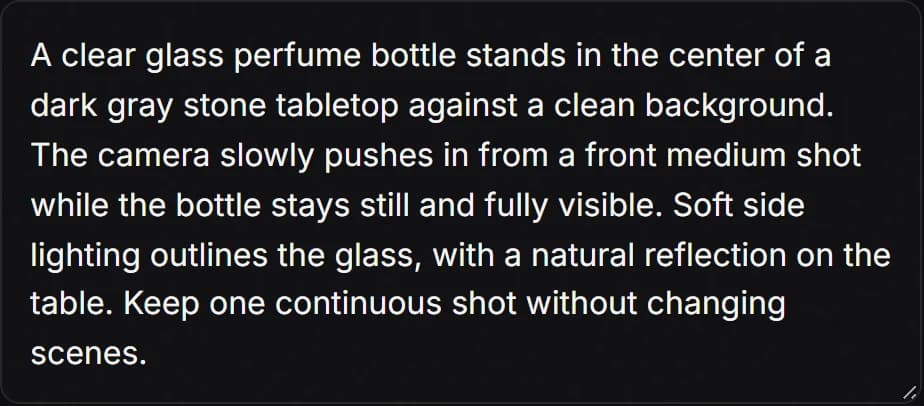
When you already have a product image
Use this image as the starting frame. Keep the perfume bottle still as the camera slowly pushes in and soft light travels along the edge of the glass. Preserve the bottle silhouette and background composition. Use one continuous shot.
These are instructions for the desired result. After generation, check whether the subject and movement actually match the request.
Match the duration to the action
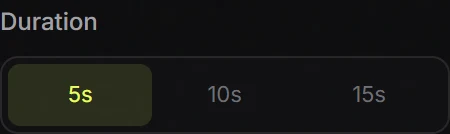
Duration offers 5s, 10s, and 15s. These are output video lengths, not estimates of how long generation will take.
| Duration | How to plan the shot |
|---|---|
| 5 seconds | Keep the brief focused on one simple action or a short camera movement. |
| 10 seconds | Allow a slower action to develop, with time for its beginning and ending. |
| 15 seconds | Give a gradual continuous shot more room without adding unrelated scenes. |
For the perfume bottle walkthrough, begin with 5s. Keep the bottle stationary and ask for a short, slow push-in. Review that basic movement before extending the shot.
Set the resolution and frame shape
Resolution: choose the output specification
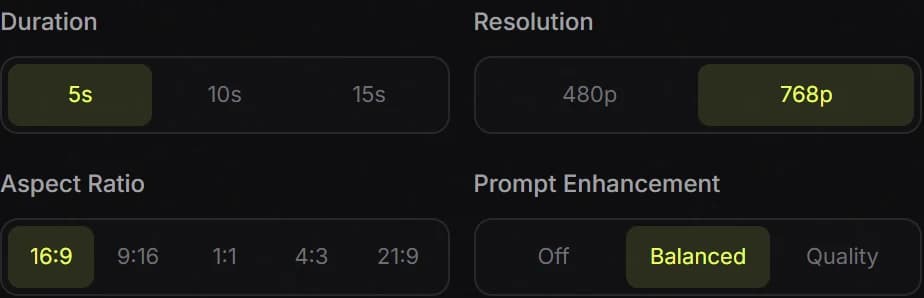
The tool offers 480p and 768p. This walkthrough keeps 768p selected. If you compare resolutions, keep the other settings and the prompt the same and inspect the actual outputs. A higher resolution does not guarantee a more accurate action or composition.
Aspect ratio: decide where the video will fit
| Ratio | Composition |
|---|---|
| 16:9 | Landscape framing; used for this product walkthrough. |
| 9:16 | Vertical framing for an upright viewing layout. |
| 1:1 | A square frame for a centered composition. |
| 4:3 | A more compact landscape frame. |
| 21:9 | A wide frame; check how much space surrounds the subject. |
Use 16:9 for this example and ask for the entire bottle to stay visible. If your destination needs a vertical frame, select 9:16 before generating and reconsider how much space the product needs.
Keep prompt enhancement consistent
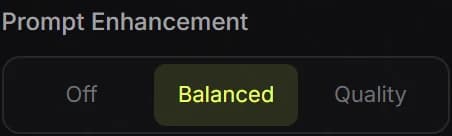
Prompt Enhancement offers Off, Balanced, and Quality. For the first version, keep Balanced selected, as shown in the workspace.
To compare this setting later, leave the model, original prompt, duration, resolution, and aspect ratio unchanged. Switch only the enhancement option and save both results.
Do not treat the Quality label as a guarantee of a better video. Judge the returned action, subject, and framing against your brief.
Check the request, then generate
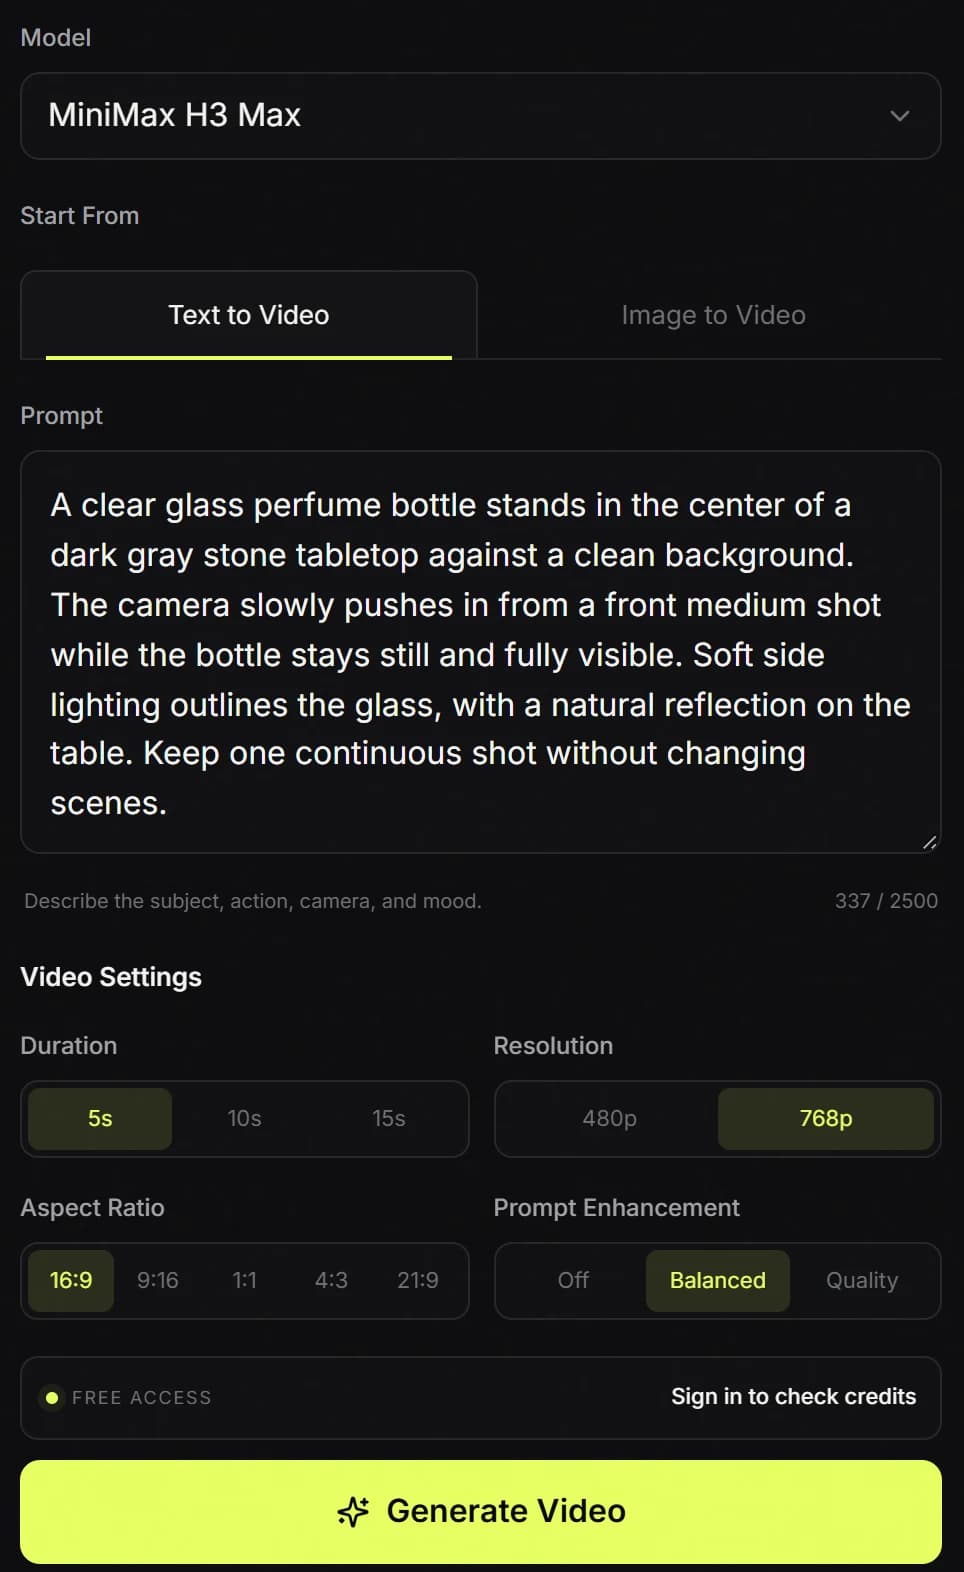
Before selecting Generate Video, confirm the model, input mode, prompt, duration, resolution, aspect ratio, and prompt enhancement. In image mode, also confirm that the source has finished uploading.
| Item | Walkthrough setting |
|---|---|
| Model | MiniMax H3 Max |
| Input | Text to Video |
| Shot | A stationary perfume bottle with a slow camera push-in |
| Duration | 5s |
| Resolution | 768p |
| Aspect ratio | 16:9 |
| Prompt enhancement | Balanced |
If you are signed out, submitting a valid request opens the sign-in flow. The pending request may continue after sign-in, so finish checking it before clicking Generate Video.
Credits are checked when you generate. The FREE ACCESS label does not mean that every request is free of credit charges. Follow the actual account and balance messages; check pricing if you need more credits.
Wait for your result, not an example
After a task starts, the right panel changes to a Generating state. Wait for its status to update rather than repeatedly submitting the same request. The selected video duration is not the processing time.
The four clips shown when you first open the tool are prerecorded examples. They are not outputs from your current prompt. The settings summary beneath them reflects your current selections, not the verified production settings of those example clips.
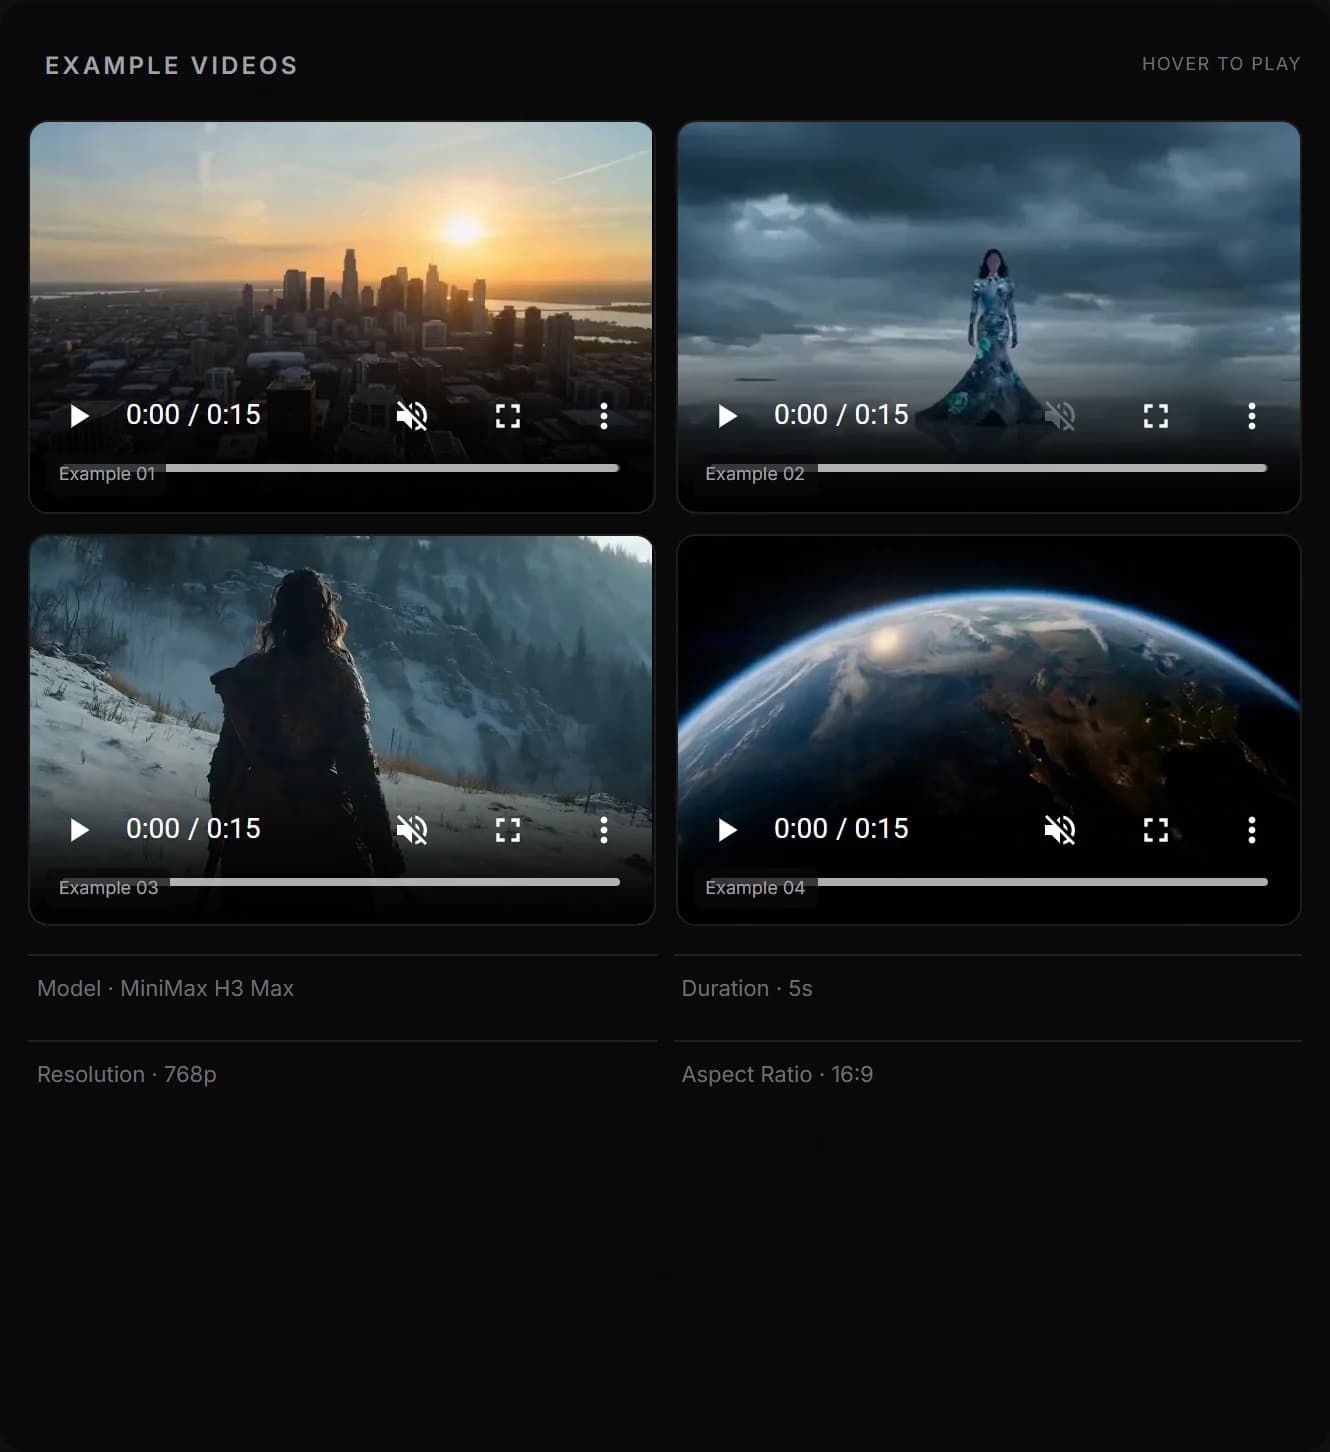
When your result is returned, look for VIDEO READY, a video player, and the Download button. Those controls distinguish a completed result from the example grid.
If the page reports that generation is taking longer than expected, check My Creations shortly afterward before deciding to submit again.
Review, download, or revise one issue
Play the complete video before deciding whether it meets the brief. For the perfume bottle task, review four specific things:
| Check | What to inspect |
|---|---|
| Subject | Is the entire bottle visible, and does its silhouette remain coherent? |
| Action | Does the camera move closer slowly while the bottle stays still? |
| Framing | Does the push-in crop the cap, base, or another important part? |
| Continuity | Does the scene remain continuous without sudden cuts or background changes? |
If the result is useful, select Download in the completed-result panel. Save any version you want to keep before starting another generation, and record its prompt and settings.
Make a focused revision
If the camera movement crops the bottle, try replacing the camera instruction with:
Use only a small, slow camera push-in. Keep empty space above and below the perfume bottle so the entire product stays inside the frame.
Leave the other settings unchanged, generate another version, and compare whether the product stays fully visible. Generation can vary, so a single improved result is not proof that an instruction will work every time.
Use your actual videos and timestamps to record problems. The tutorial input screenshot below is a reminder of where to revise the instruction; it is not evidence of a generated result.
MiniMax H3 Max workflow FAQ
The homepage generator lists MiniMax H3 Max, MiniMax H3, and MiniMax H3 Max Turbo. This walkthrough uses MiniMax H3 Max. Choose the input mode separately after confirming the model.
No. Text to Video needs a written prompt and does not show the upload field. Image to Video adds a required starting-image upload and still needs a prompt.
No. Review the existing prompt after changing tabs. Text mode needs a description of the scene; image mode should explain the motion or change that follows the uploaded image.
This tool requires both an uploaded image and a prompt. After uploading, describe what should move or change instead of only repeating what the image already shows.
Check the message below the controls. You may need to sign in, enter a prompt, finish uploading an image, or resolve an insufficient credit balance. Once the task is generating, wait for the result.
The examples are prerecorded clips. The settings summary shows your current request settings, not the parameters used to create those examples. Changing the duration does not change an existing example.
The button is disabled while an image is uploading or a video is generating. Wait for the current operation to finish and check any status or error message.
Follow the page message and check My Creations shortly afterward. Confirm the original task status before submitting the same request again.
Identify the single problem that matters most, such as a cropped subject or incorrect camera movement. Change the relevant instruction or setting, save the result, and compare it with the previous version.